If you heartily want to gift someone, this space is for you!
Nothing can ever overpower the ecstasy of finding a loved one making efforts to make your day special. Gifting someone special on a birthday is an exceptional gesture of expressing your love for the person. Imagine, what if you make your own and present it to your loved one? You just can’t imagine how self-satisfied you will be! It really adds to the gleeful vibes. Wondering how can this be done? Well, it’s not as hard as you think! Even if you are not much creatively excellent, but you intend to put in some effort, this article renders some of the wonderful ideas to awe your beloved ones!
So, here are a few innovative ideas for DIY birthday gifts :
1. Personalised Posters
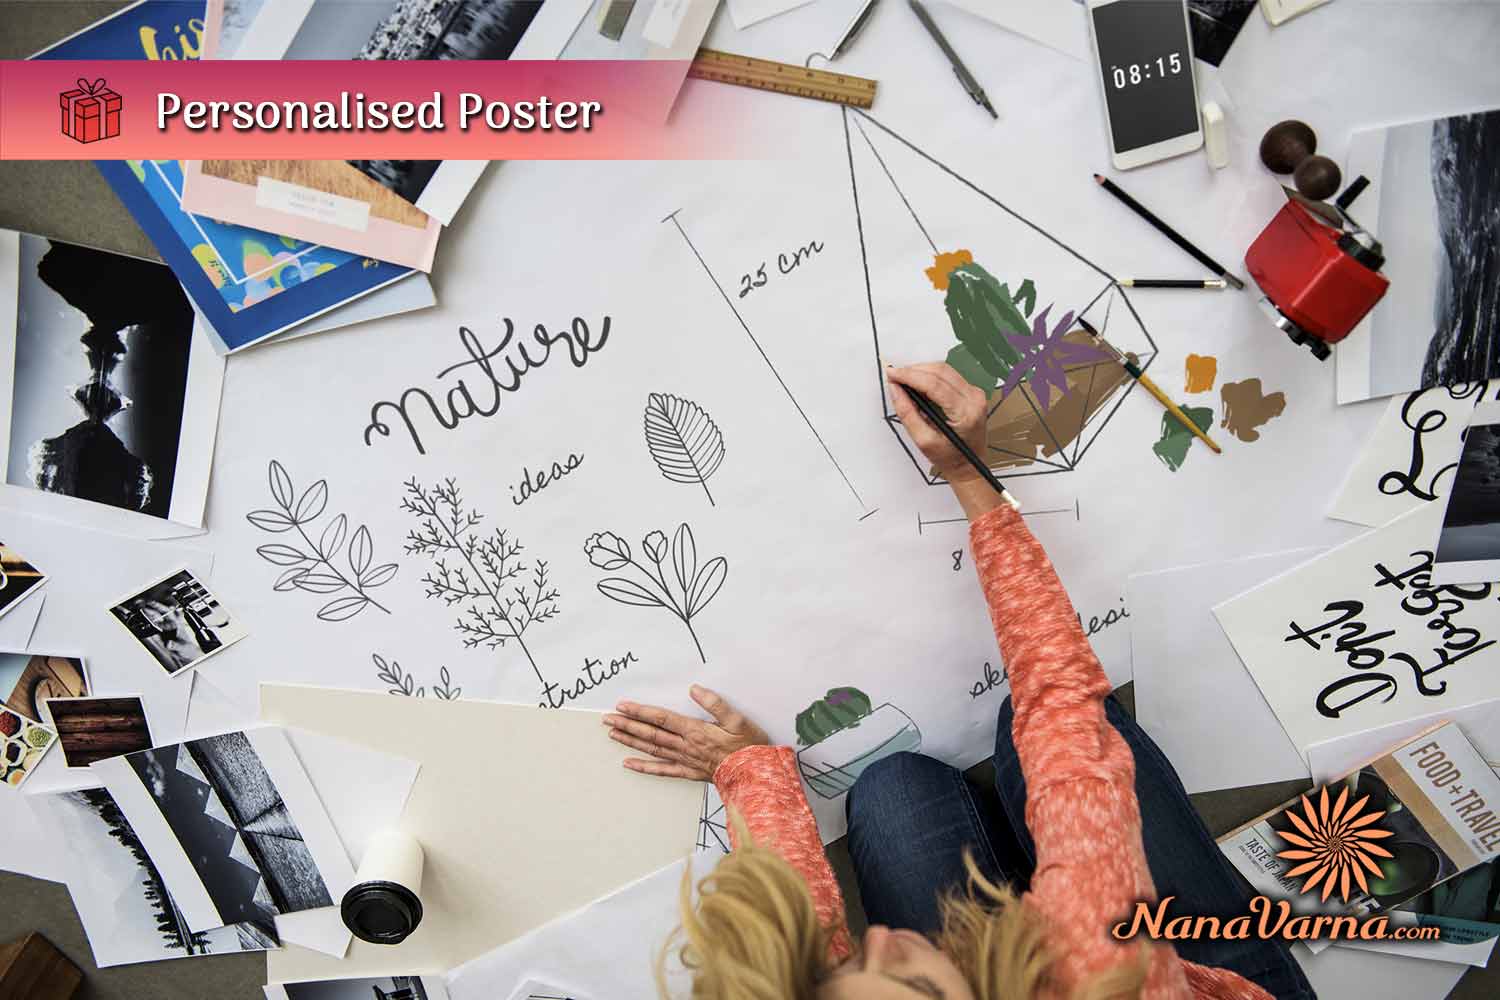
Fabricating personalised posters and gifting it to dear ones is an intuitive idea that one can think of. All you need to do is make creative posters, paint the letters of the quotations, and draw some pictures. Alternatively, you can also customise your posters using applications and download them, if you do not prefer to draw. When the posters are ready, you just need to get them framed them with the service providers or you can make a wooden frame on your own. Ultimately, this would turn out to be an amazing DIY birthday gift!
2. Photographs Notebook
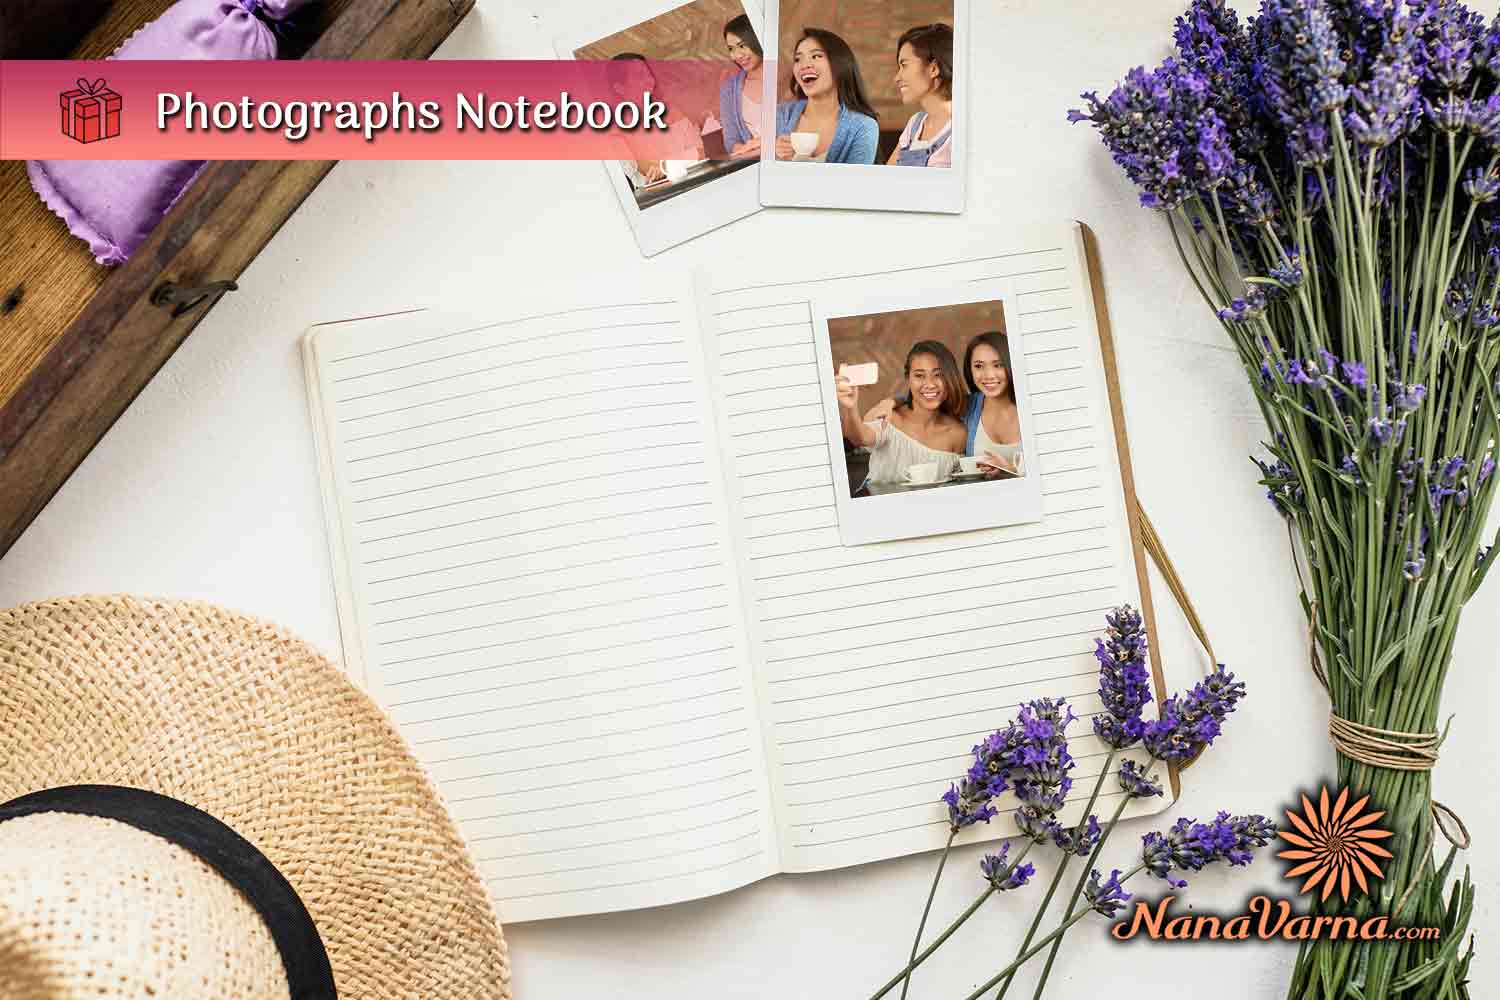
You must have had many memorable times with your most loving person on many joyous occasions and would have captured photos for cherishing them. The perfect time to reminisce those occult moments together again can be on your dearest one’s birthday! For this magic to happen, fill a notebook with those sweet and catchy snapshots, including fabulous touchups with creative art. Present this pretty notebook to the loved one, adding some marvellous thoughts or messages to brighten up the merry day!
3. Tile coasters
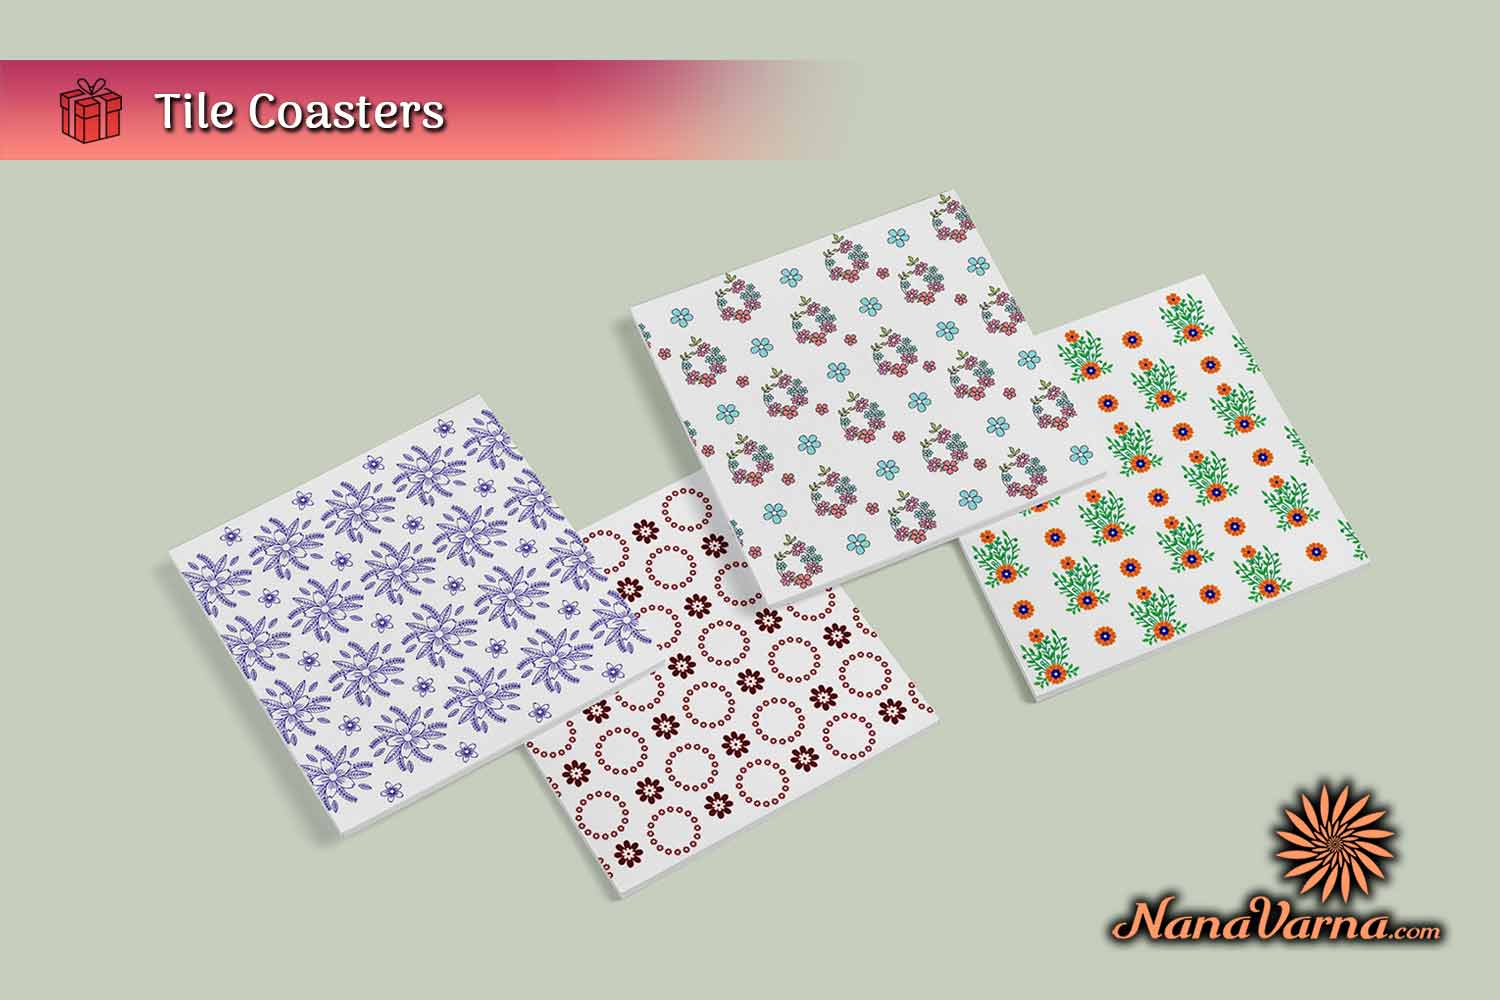
These are fun to design and attractive as well, proving to be brilliant DIY birthday gifts!
What do you do to create one? It’s just easy with these simple materials:
- Square Tiles
- Scrapbook Page
- Mod Podge
- Sponge Brush
- Waterproof Sealant
- To begin with, choose the theme (flower/ puppy/ knitting /golf/ coffee, etc.,) of your tile coaster.
- Once you are done with finalising the theme, clean your tile. Washing it off with alcohol might help.
- Now, cut a scrapbook page / patterned paper to 4×4 size.
- Using a sponge brush, apply a coat of Mod Podge to the tile and place the paper on top and let it dry completely.
- Then spray with a waterproof sealant. That’s it… Your elegant tile coaster is ready to be presented!
You may use a wooden piece as an alternative to tile.
4. Bulletin boards
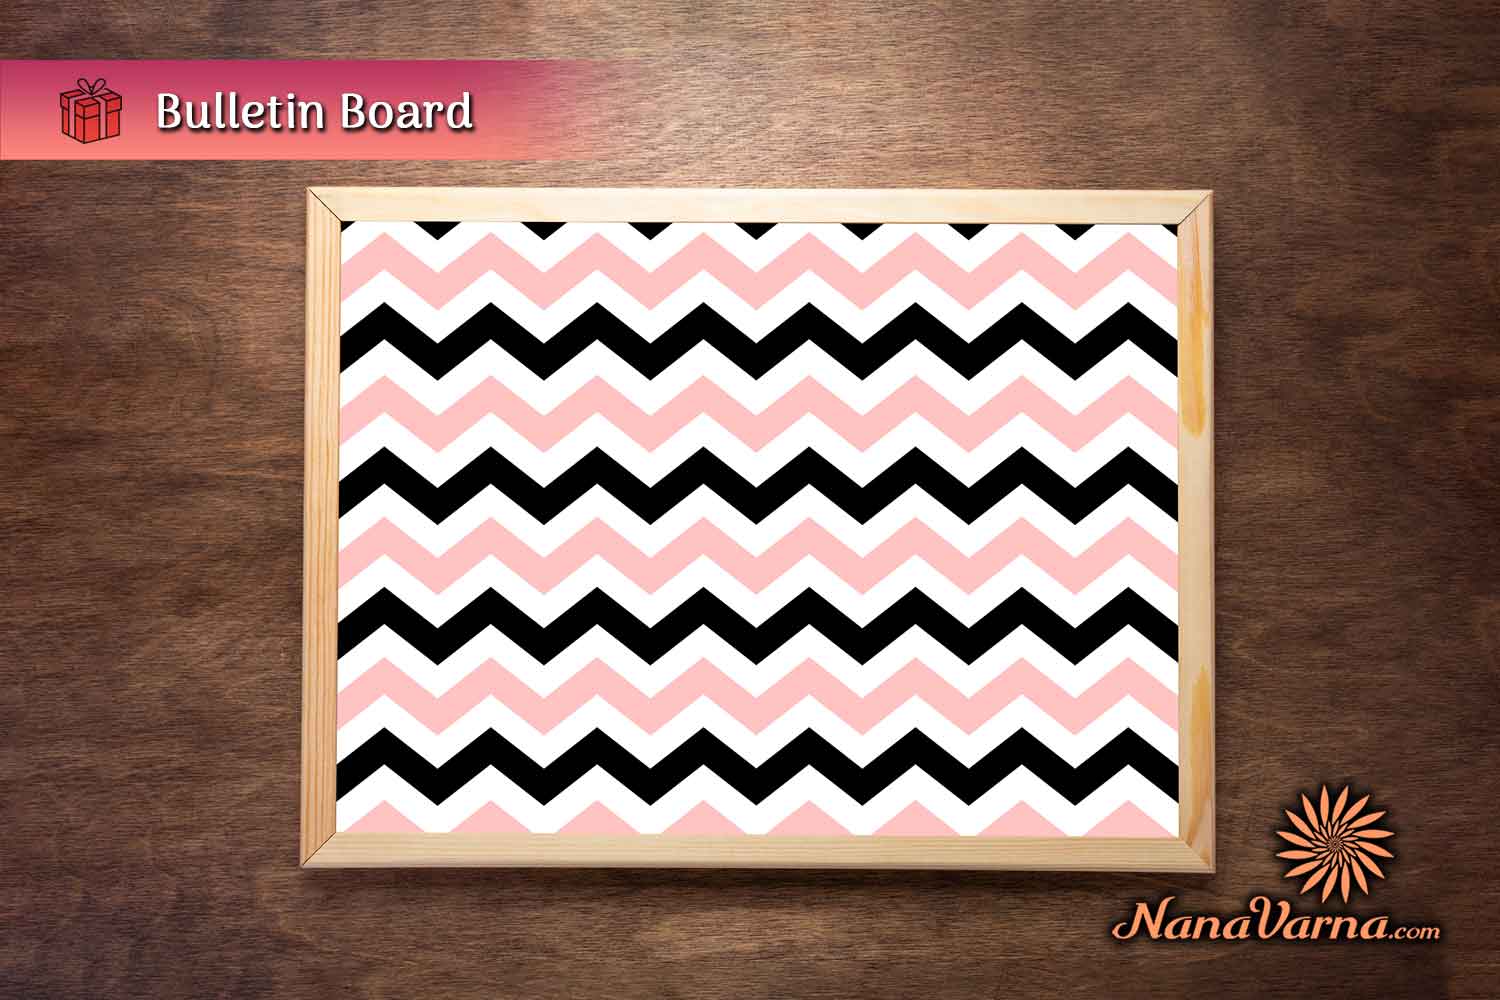
These are uncomplicated decorated boards that are fun to make using the following items:
- Cardboard
- Fabric
- Glue
- Masking Tape
- Elastic
- Decorative Gems
- Scissors
- Box cutter
- Choose a clean, thick cardboard box (make sure that the material is not susceptible to easy wear and tear) and cut it into two pieces using a box cutter. You can use a foam board /cork board instead.
- Now, choose one piece of cardboard and glue around it.
- Next, grab the fabric and place it on the board and let it stick on to the glue. Additionally, you can secure it with masking tape.
- Let this dry completely and then peel off the masking tape.
- You can then cut the elastic to the measurements of your cardboard and stick the elastic strips using glue and masking tape. Let it dry overnight.
- Once it has dried completely, remove the masking tape.
- After this, take the other piece of the cardboard and glue it to the backside of the decorated one.
- At the front side, glue the intersections of the crisscross portions.
- Following this, stick the decorative gems to decorate the crosscut elastic.
- Now, cut a plastic sheet (depending on the size of the board), spread it on a table and place the front side of the ornamented board and place some books on top so that the gems at the front get fixed to the elastic.
- Leave it to dry all-night.
- The next day, carefully remove the plastic sheet (make sure the gems are properly stuck and that they don’t fall apart).
Ooooohhhh….. The awesome adorning board is ready! You can also design the board with birthday concepts like throwing confetti or any other theme as per your pick.
Gift it to your loved one and watch the excitement take place! One of the stupendous DIY birthday gifts, isn’t it?
5. Handmade earrings
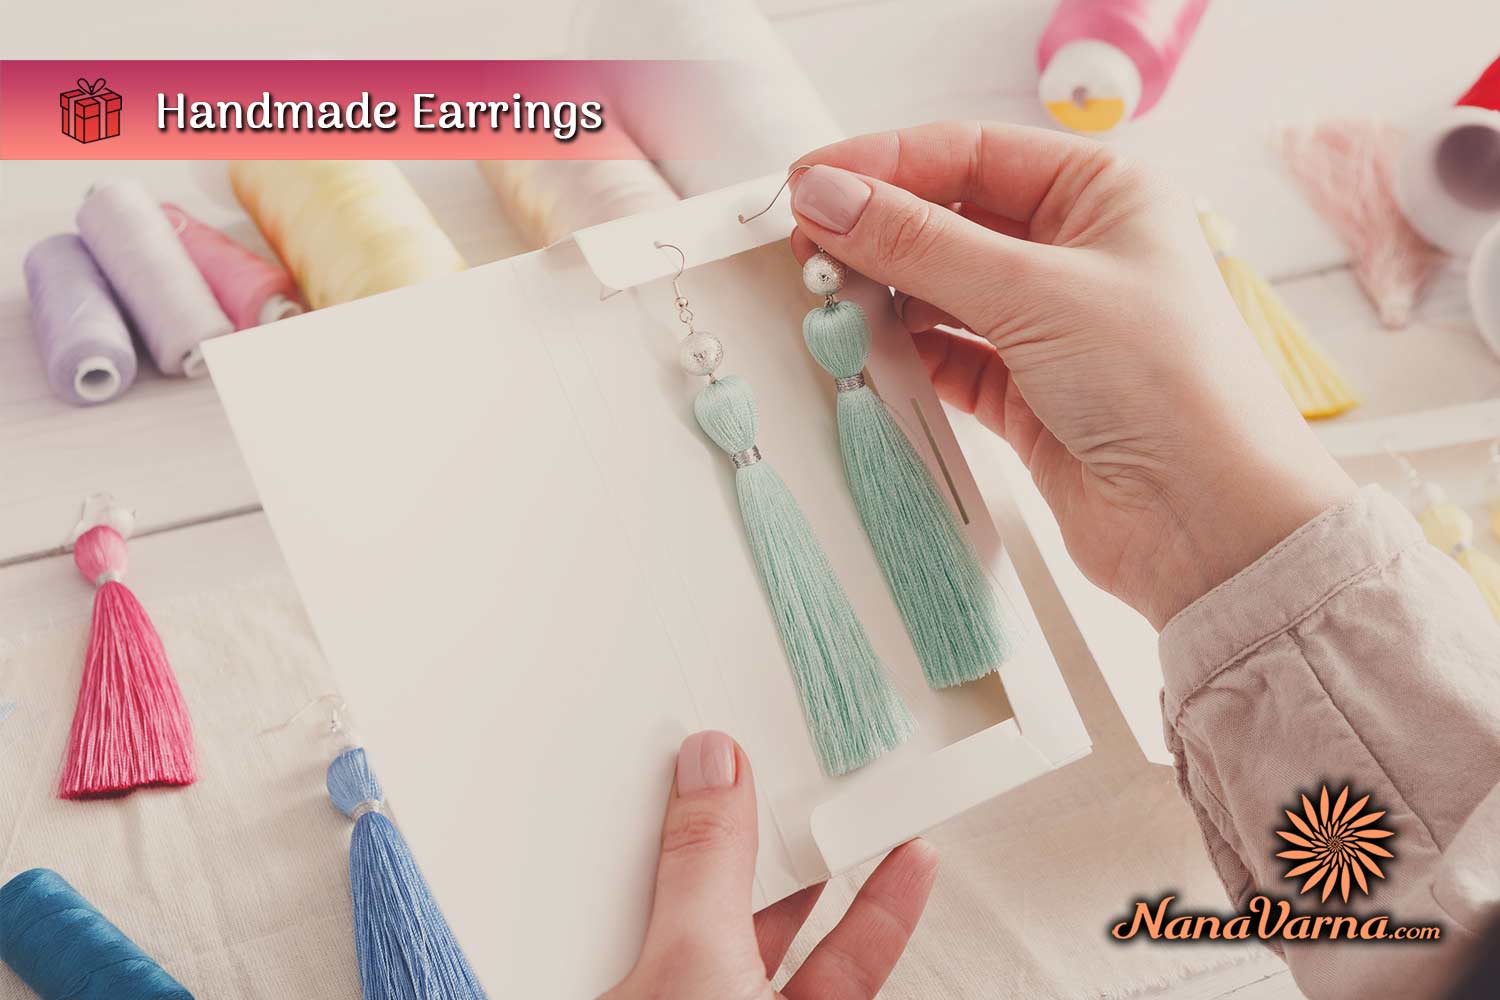
Embroidery Thread, Fabric Glue, Cardboard (20cm), Hooks, End Caps. Wondering what are these for? Well, they are for crafting stylish and graceful homemade earrings!
Want to know how to make one to melt the birthday girl’s heart?
Here you go….
- Take the cardboard and run the thread vertically 18 times.
- Now, cut a small portion of the thread and secure one portion by tying a knot.
- Cut the other end to form three portions of the thread.
- Then, make a simple braid. The unsecured end should be glued and tied with a piece of thread. Trim off the excess.
- After this, glue both ends together to form a U-shape.
- Insert the End Caps and the hooks.
You could also attach some beads of your choice! Done… Cool, isn’t it?
6. Homemade cake
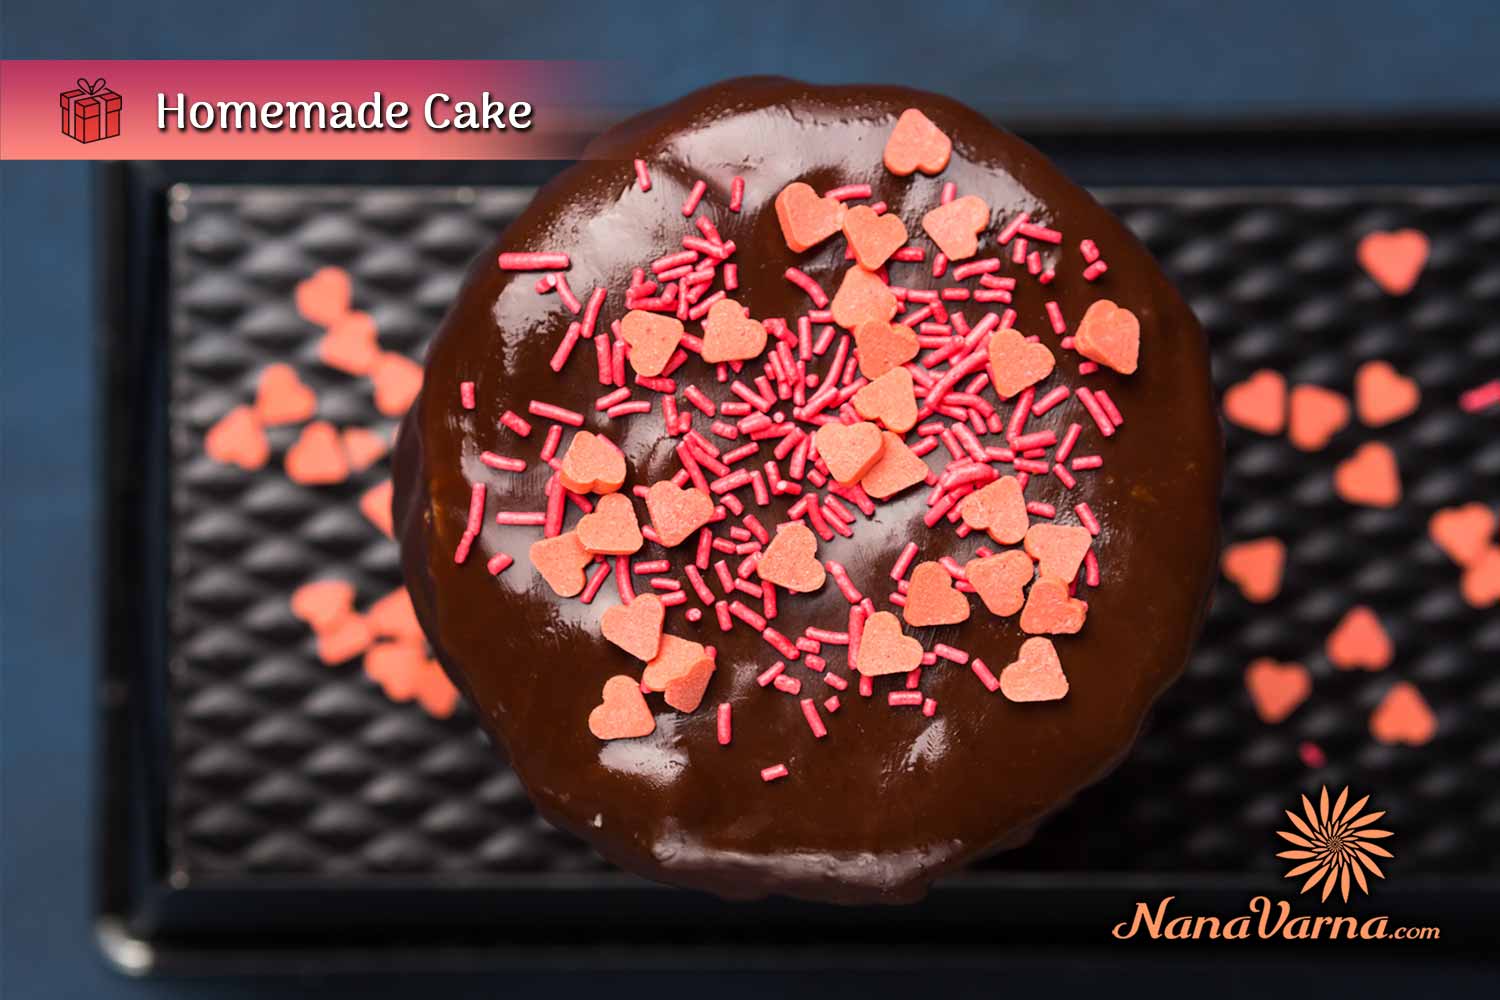
The Birthday cake has a special place, though there are many fabulous things to be excited about – the presents, dance, and music at the party, gathering with friends and relatives, and having fun together! What if you bake a scrumptious homemade birthday cake to delight the dear one? Wow….!!! Hmmm… How should I do it? Don’t worry when you have the recipe here…..
Let’s see how to make a delicious eggless chocolate cake.
Ingredients:
- Plain Flour/All-Purpose Flour
- Cocoa Powder
- Sugar
- Oil/Butter
- Yogurt
- Salt
- Water
- Baking Soda
- Baking Powder
- Rainbow sprinkles
Method: (Measurements vary according to your requirement)
Before you begin, preheat the oven at 180˚C. You can otherwise make this cake in a cooker.
- Sieve Flour, Cocoa Powder, Baking Soda into a large bowl.
- To this add, pinches of salt, Sugar, Oil, Yogurt, Baking Powder and give the mixture a good mix.
- Now, add water and use a hand mixer/blender to make a smooth batter.
- Grab the cake pan, grease it with ghee, and line it with baking paper.
- And then… In the oven, the cake goes….. Yippee! Ready after 25 to 30 minutes!
Let the cake cool down completely, while we make the chocolate glaze ready to spread on top of your delectable chocolate cake.
Chocolate Glaze:
- Ingredients:
- Cocoa Powder
- Powdered Sugar
- Milk
- Vanilla Essence
Method:
- In a bowl, add Cocoa Powder, Powdered Sugar, and Vanilla Essence.
- Combine the ingredients well.
- Now, start adding milk and mix it thoroughly.
- Super Chocolate Glaze is ready to spread!
- After laying out the glaze on the chocolate cake decorate the top with some rainbow sprinkles. YUMMY….!!!
Don’t you think it is one of the finest DIY birthday gifts?
7. Grass heads
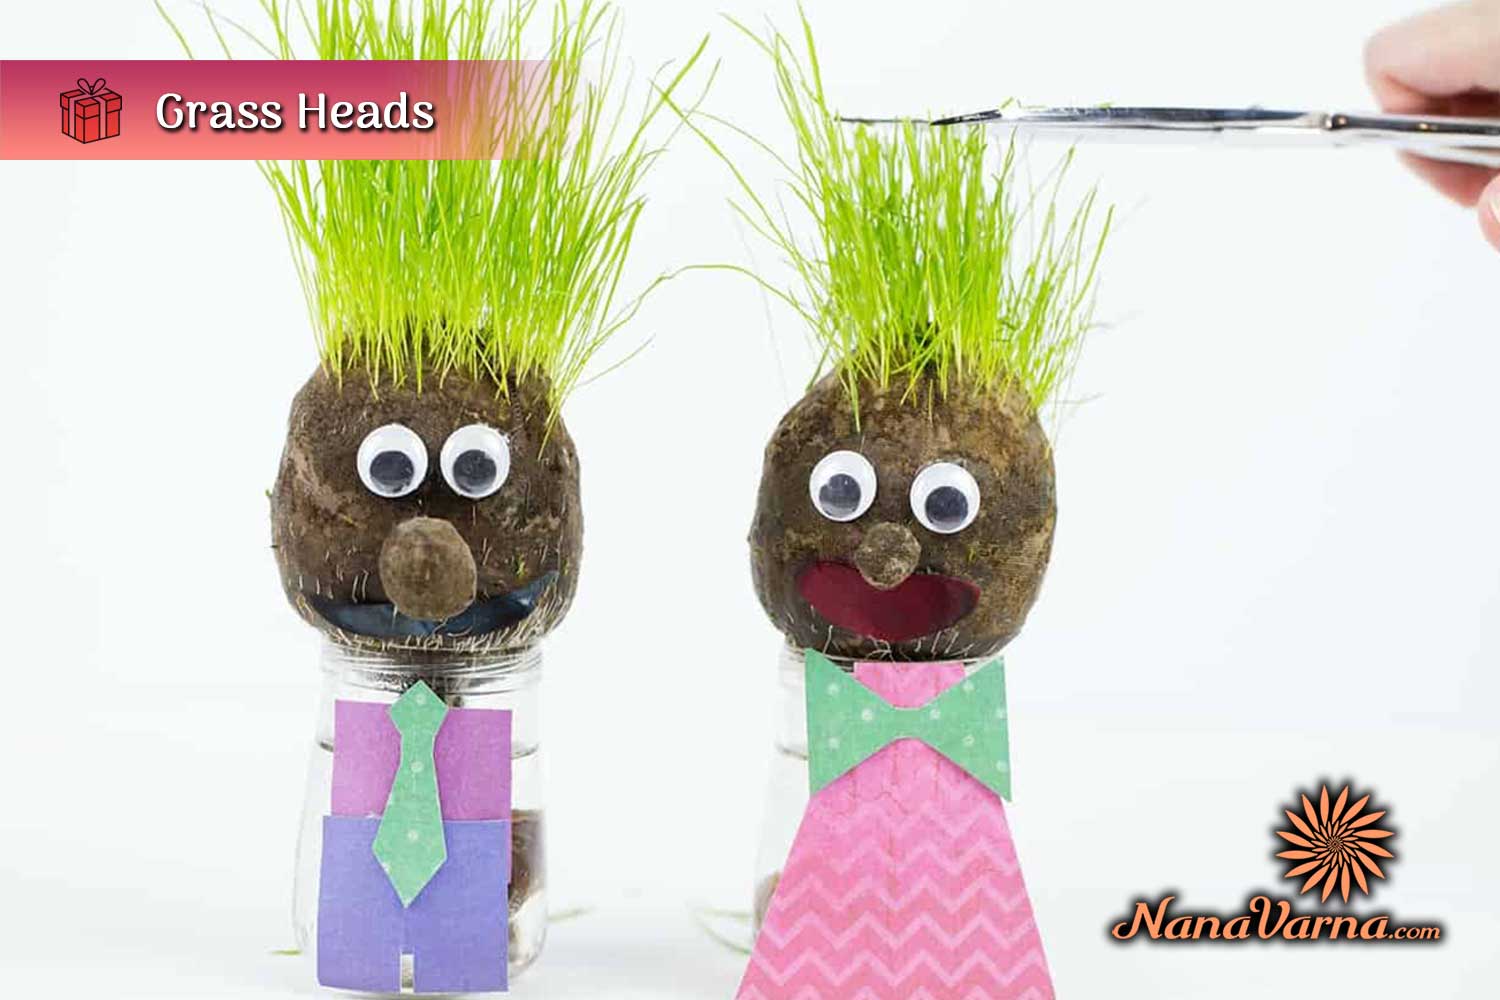
Image credit: 5minutesformom.com
One of the funniest, inventive, and fascinating DIY birthday gifts for kids is grass heads. Gift them one and watch those bright eyes filling with exhilaration!
Curious to know how to make one? Actually, it’s pretty simple and super easy. Let’s get into it….
What do you need?
- Old pair of stockings
- Mug
- Grass Seeds
- Compost / Coconut Coir
- Elastic band / Thread
- PVA Glue
- Googly Eyes
- A piece of felt (for the mouth)
- Glass Jar
- First, cut off a portion of the stockings including the toe.
- Then, take the mug and stretch the stocking above the mug and add in 2 to 3 tablespoons of grass seeds.
- Next put in enough compost to make the head (to the size of a tennis ball). Make sure it is nicely pushed down and is tight.
- Now, just tie a knot to close the end.
- After this, pinch a portion of the compost (that is filled in the stocking) and make a bulbous nose. Once done, use an elastic band to secure it.
Now, it’s time to decorate your grass head…
- Apply PVA glue to the parts where you would place the google eyes and the felt for the mouth.
- Stick on the google eyes and the felt to show a nice, happy smile!
- That’s it… All set. Now, grab a glass jar, fill it with water half the way, and pop the head in.
- The water travels through, making the grass head moist. This helps in grass growth. Once the head grows you got to trim it!
- Finally, you can decorate the jar as you like – maybe you could draw, or add some pictures, stick a patterned paper, or craft tissue paper.
Amusing, isn’t it?
8. Felt flowers
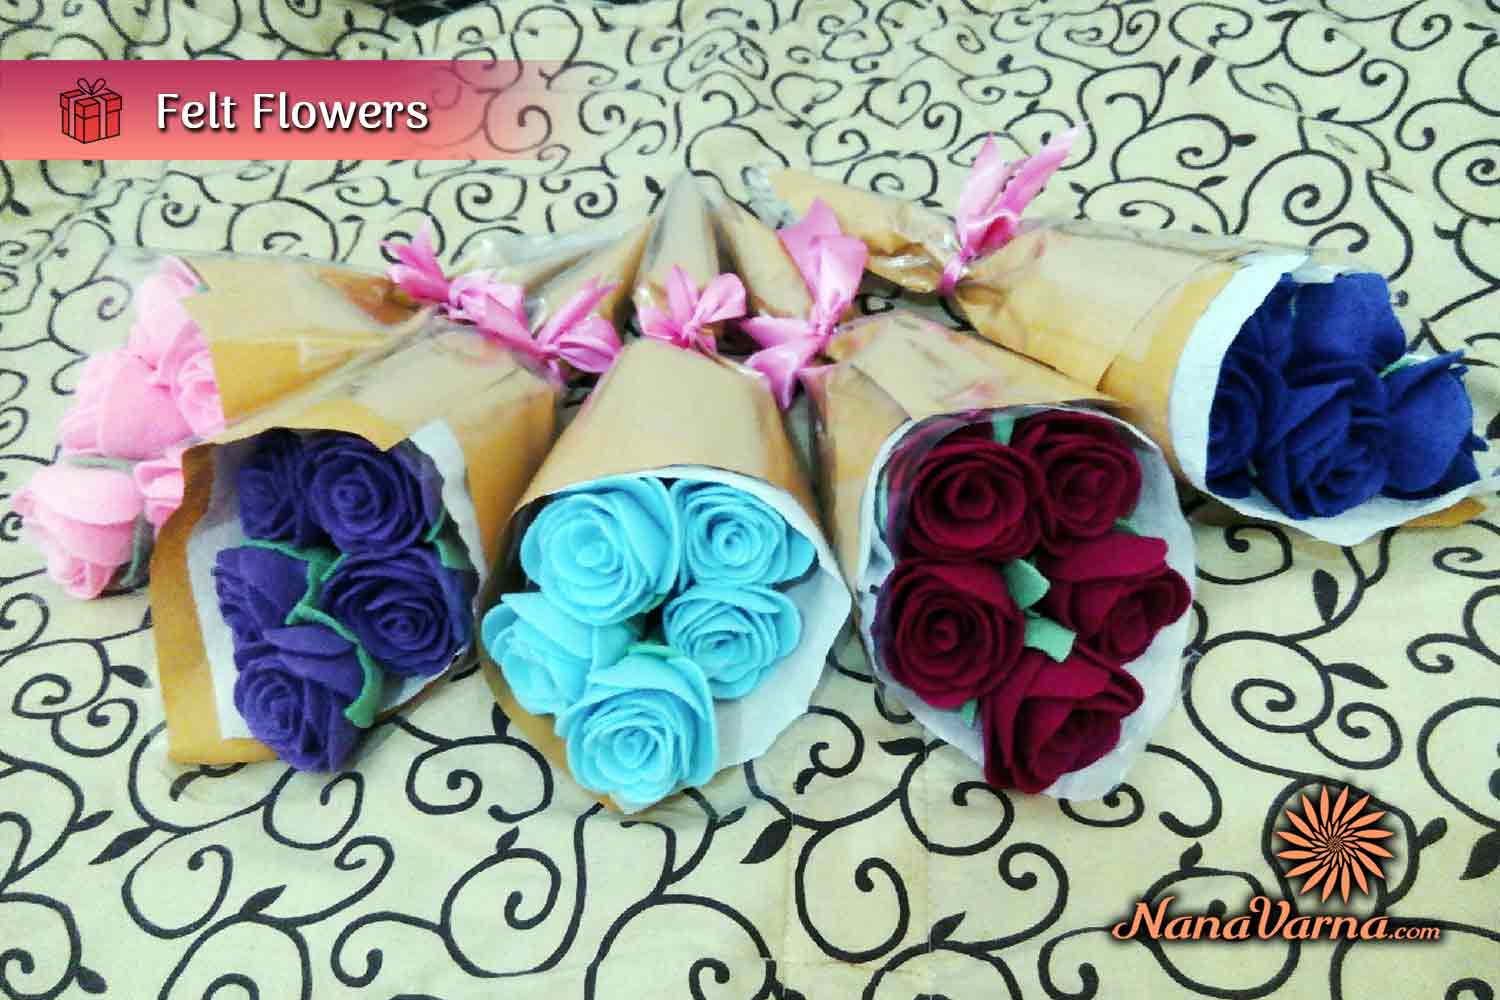
These are one of the very attractive, colourful, easy-to-do DIY birthday gifts.
Things You Will Need:
- Sheet of Felt
- Cup (for tracing)
- Scissors
- Pen or Pencil
- Glue Gun
- Fold the felt sheet into half and draw 4 circles.
- Cut along the circles and now you would end up with 8 circles. But, only 7 of them are to be used.
- Place a circle to form the base of the flower. The remaining 6 circles should be folded in half, twice.
- Using a glue gun, glue them in the middle and hold them together for 15 seconds to ensure that the glue is dry.
- Then, lay 4 pieces on the bottom portion of the flower and glue them. Hold them together until the glue has dried.
- Now, spread the pieces to show the flower-like appearance.
- Attach the remaining 2 pieces on to the top by folding the edges facing in opposite directions.
- Before you glue them, cut off the tips and glue one of them in the middle and the other one next to it. Make sure the glue is completely dry.
- Finally, fluff up the petals. You’re done!
If you’re feeling creative, you can cut out some leaves from green felt and glue them to the flower. Or, you could put some metallic paint on the edges. Decorate it anyway your heart wishes!
Even a felt flower garland or bouquet can be created!
9. Knitted sweater
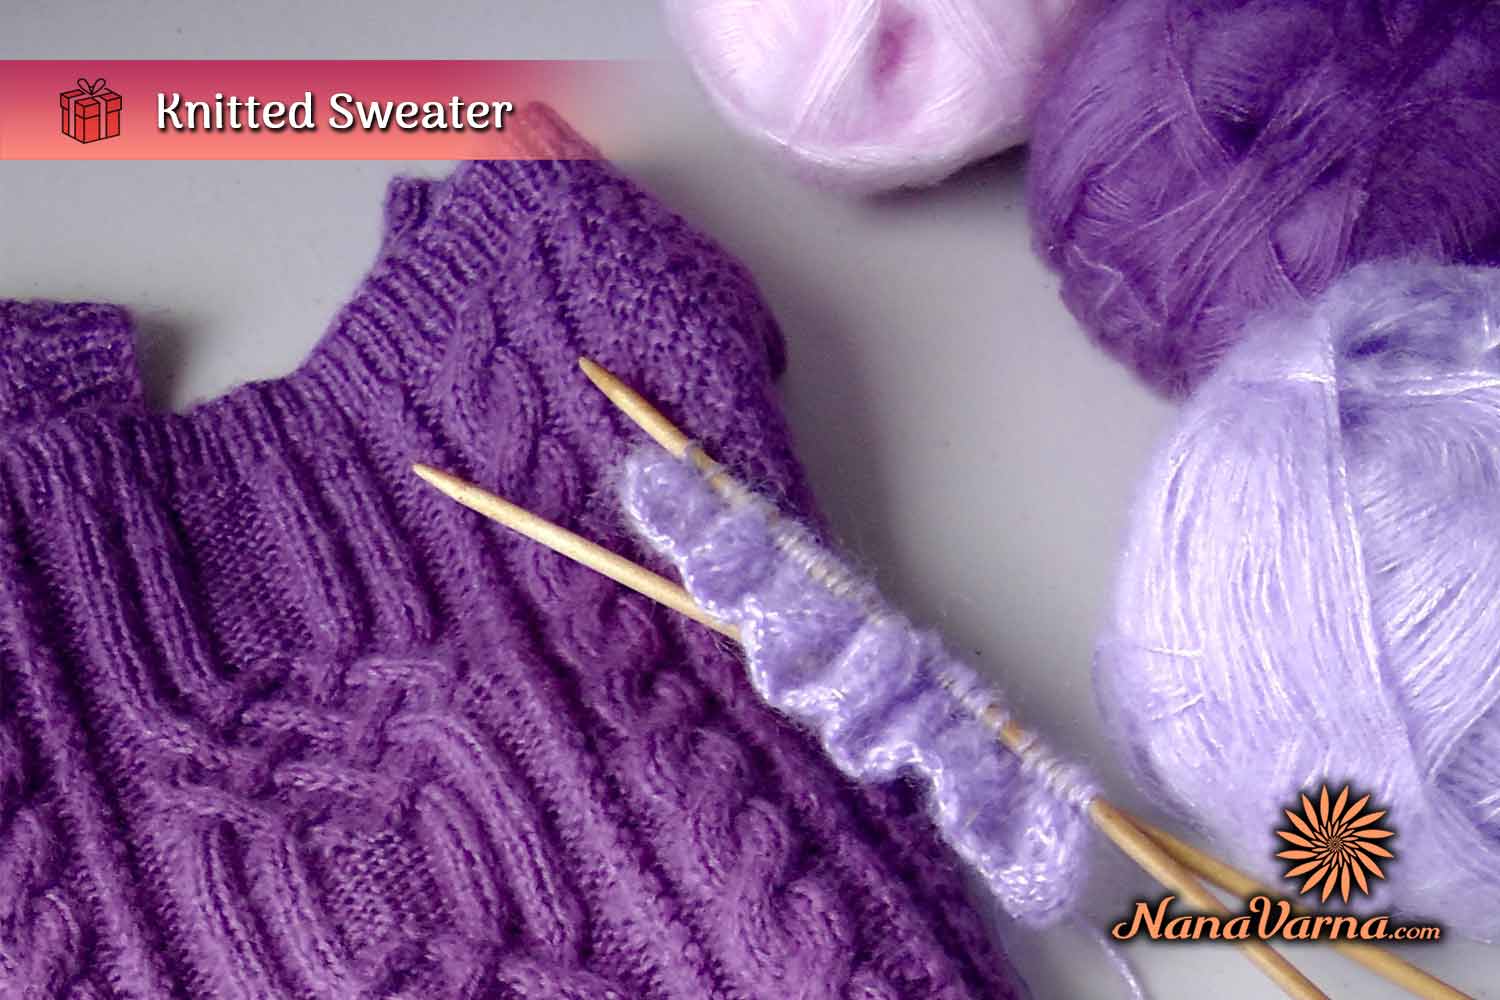
One of the comfiest DIY birthday gifts is a knitted sweater. Make your dear ones feel the warmth of your love for them! This is an awesome birthday gift for all ages.
Materials needed:
- Knitting Needles
- Yarn
- Measuring Tape
- Scissors
- Double Pointed Needles
- Stitch Markers
Decide the pattern of your sweater, follow the knitting techniques, and knit a cosy sweater! That’s it…!
10. Sock Bunny
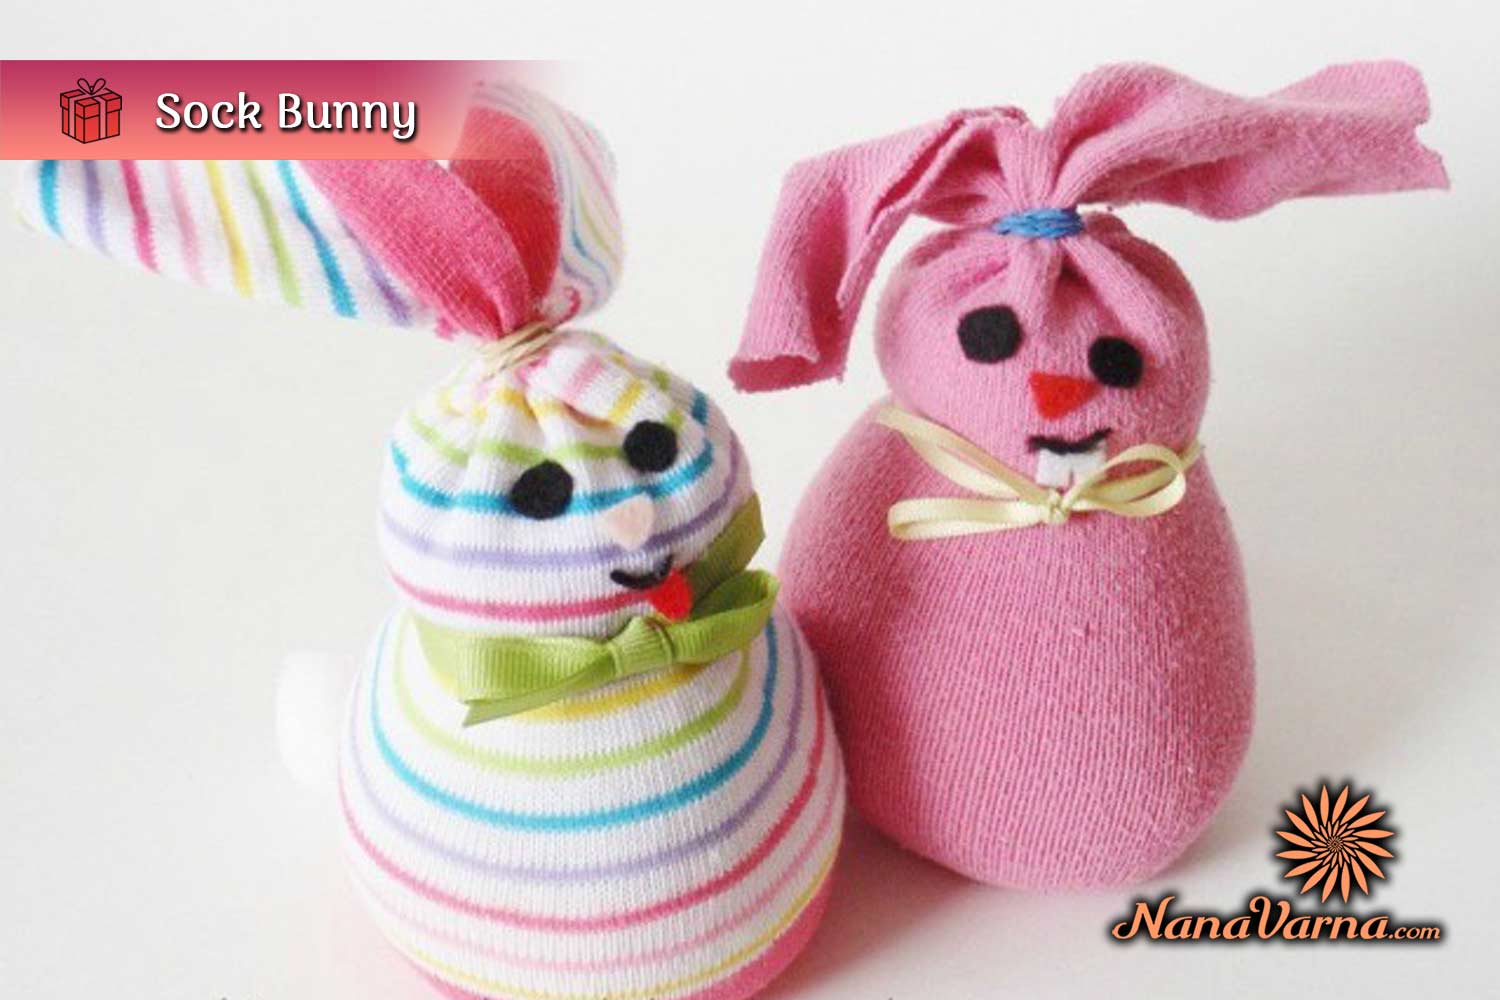
Image credit: http://acreativecookie.blogspot.com/
A very adorable DIY birthday gift that would astonish the kids!
Here’s how to make this loveable soft plushy…
Supplies required:
- White ankle sock – 1 no.
- Colourful Stripy sock – 1 no.
- Scissors
- White Pom Poms ( 1 1/2 inch – 2 no’s., 1 inch – 3 no’s.)
- A mini pink Pom Pom
- Googly Eyes
- Sharpie
- White loom bands
- Glue Gun
- Polyfill
- Start with filling the sock (using Polyfill) up to the heel. Do not overfill it.
- Turn and fold the top portion of the sock so that the heel is at the back.
- Now, start rolling from the top (towards you). Roll as far as you can.
- Then, get your glue gun and apply a strip of glue to the sock (horizontally) and stick the roll and the sock together. Allow it to dry completely.
- Once the glue has dried up totally, flip the sock over at the top fold over the glued part.
- After this, pinch with your finger to create the bunny’s ears.
- Then, using a lumbered wrap around each ear, twice to secure tight. Adjust to fix the bunny’s ears.
- Wrap around the bunny’s ears once more.
- Decide the size of your bunny’s head and then secure it (two times) using a loom band.
- Glue the 1 1/2 inches Pom Pom to make your bunny’s feet.
- Using two of the 1-inch Pom Poms form bunny’s arms.
- The remaining 1 inch Pom Pom is the tail part.
- Now, let’s stick on the google eyes (If you do not have Googly Eyes, you can draw eyes using a sharpie).
- Following this, glue the mini pink Pom Pom to add a nose to your bunny.
- Draw mouth and whiskers with the help of a Sharpie.
It’s time to dress up your bunny….!
- Grab the colourful stripy sock and cut below the heel (use the bottom of the sock).
- Make the bunny wear the sock dress. Make sure the sewed part of the sock is at the tail end.
- Roll the excess bit of the sock.
- Make a vertical slit where the Pom Poms (legs and arms) are hidden. Now, cut a slit on either side and gently pull out the Pom Poms.
- Before you cut out a hole for the tail, pull up the dress so that it’s tight; make a slit and pull out Pom Pom, the same way that you had done for the arms and legs. Excess cloth, if any can be rolled in or cut out to make adjustments.
So, ALL DONE!
Now, if you want your bunny to be a girl, then you could make a bow for her.
How to make the bow for your bunny: To make this, use the leftover part of the colourful stripy sock.
- Cut out a strip from the sock (about an inch).
- Fold the strip in half.
- Then, using your fingers get the shape of a bow.
- Now, secure it with a loom band.
- Finally, attach this elegant bow to one of the ears of your beautiful bunny!
That’s it!
One can never emphasise enough on how special handmade gifts can be. We hope that these awesome and instinctive ideas will definitely leave your dearest ones wonderstruck, make them feel special, strengthening the bonds. There’s nothing better than hand-wrapped gifts – Be it for your friends, bestie, relatives, or loved ones!


